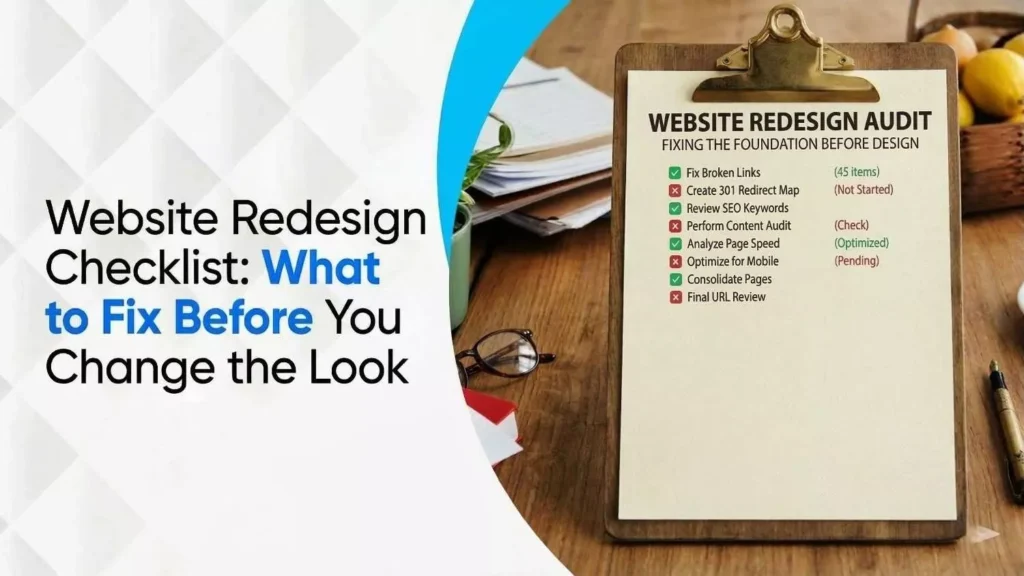
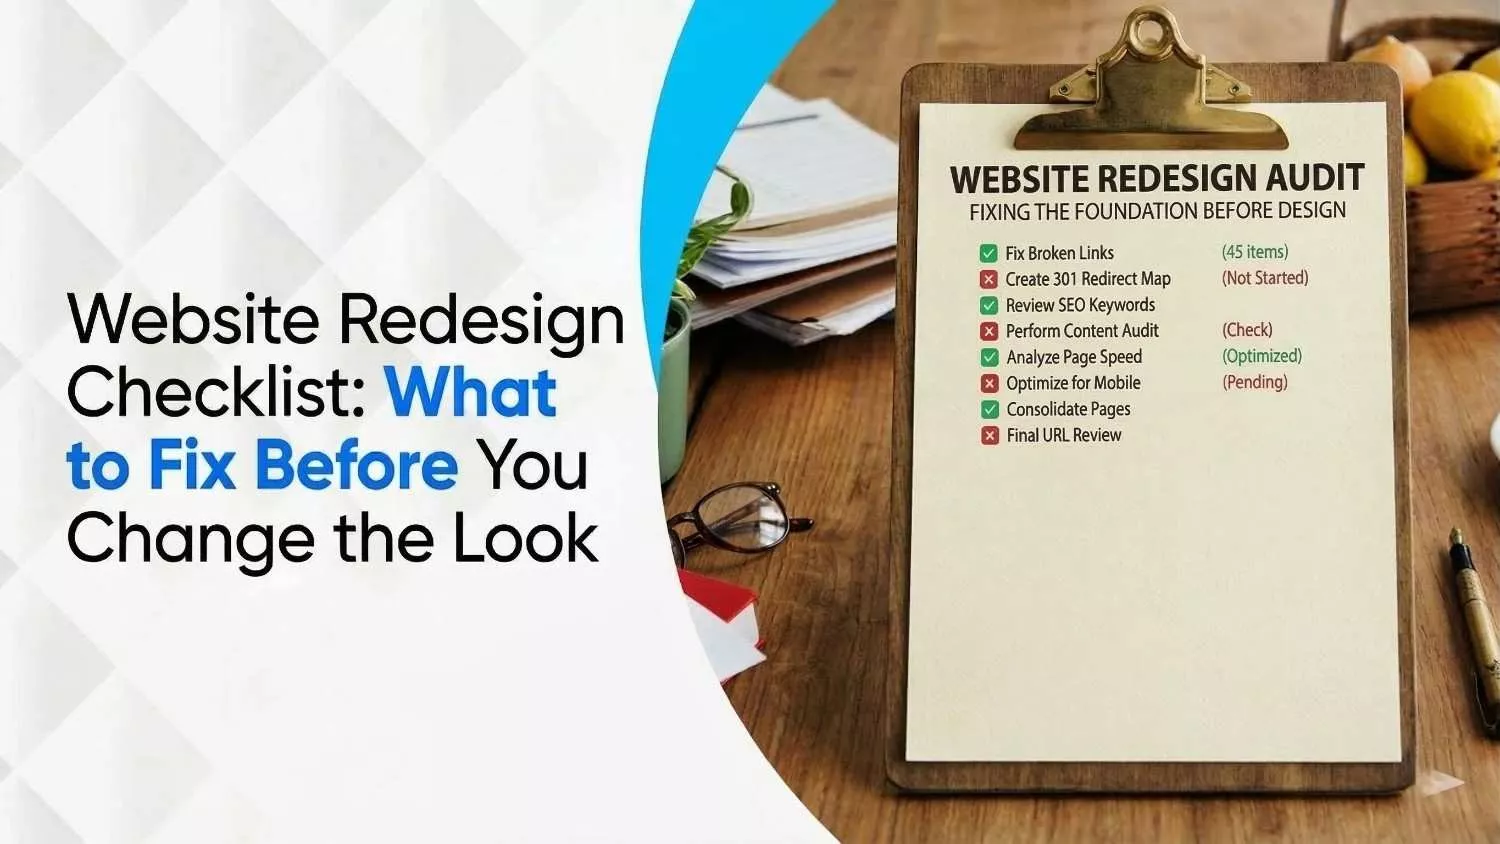
Website Redesign Checklist: What to Fix Before You Change the Look
March 13, 2026
| Khadija Raees | Reviewed by Haseeb Hamdani
Reading Time: 9 minutes
Table Of Contents
When was the last time you looked at your website through the eyes of a new visitor? Studies show that people form a judgement about a website’s credibility within 0.05 seconds. In 2026, most Canadians are browsing on their phones; more than 60 % of web traffic comes from smartphones and tablets. If your pages load slowly, are hard to navigate on a small screen or look outdated, visitors will abandon them without a second thought. A poorly performing website also hurts your search rankings because Google’s algorithm rewards pages that are fast, mobile‑friendly and engaging.
A redesign isn’t just about fresh colours or a modern font. It’s about rebuilding your digital front door so it reflects your brand today, converts better, meets accessibility and legal requirements, and supports your growth. Use this website redesign checklist to ensure nothing important falls through the cracks during your next overhaul. We’ve tailored the advice for Canadian businesses with references to accessibility legislation (ACA/AODA), bilingual audiences and local SEO.
Do You Need a Website Redesign?
Before you start planning, audit your current site. If you recognize any of these signs, it’s time for a rebuild:
- Outdated look and confusing navigation. Visitors judge credibility instantly; outdated designs or cluttered layouts undermine trust and conversions.
- High bounce rate. If more than 60 % of visitors leave after a single page, something is wrong. Slow load times, broken links or weak calls‑to‑action often cause high bounce rates.
- Poor mobile experience. Over 60 % of traffic is mobile. Sites must adapt gracefully to different devices, readable text, finger‑friendly buttons, and vertical‑first layouts. Google now ranks sites based on mobile performance.
- Declining conversions. If traffic is steady but sign‑ups, leads or sales are dropping, design issues such as buried CTAs, clunky forms or unpersuasive copy may be to blame.
- Slow speed and poor Core Web Vitals. Google measures real‑world user experience via Core Web Vitals. The metrics include Largest Contentful Paint (LCP), Interaction to Next Paint (INP) and Cumulative Layout Shift (CLS). LCP measures how long the largest element takes to load; scores of 2.5 seconds or less are considered good. INP measures how quickly your site responds to input, and CLS tracks unexpected layout shifts. Poor scores mean your pages feel slow or jumpy.
- Brand mismatch or new services. If you’ve grown, rebranded or shifted target markets, your site should tell your current story.
- Missing features. Modern users expect live chat, personalized content and integration with CRMs or messaging apps.
- Technical or legal non‑compliance. Outdated sites may lack HTTPS, have broken SSL certificates, or fail to meet accessibility laws such as Canada’s ACA or Ontario’s AODA.
If multiple items apply, prioritize a redesign rather than patching isolated issues.
Phase 1: Pre‑Redesign Audit & Planning
A successful redesign begins with a solid foundation. Follow these steps before you hire a designer or change a pixel.
1. Export analytics data and benchmark performance
Your current site’s metrics are essential for measuring improvement. Export landing‑page data from tools like Google Analytics to capture which URLs attracted traffic over the past year. Record organic search queries, bounce rates, time on page and conversion paths. Use this data to identify high‑performing pages you must preserve and low‑performers to improve.
2. Create a redirect map
URLs often change during a redesign. Build a redirect map that pairs each old URL with its new location. This prevents 404 errors, preserves backlinks and maintains SEO equity. If you delete pages, choose an appropriate replacement page for the redirect.
3. Develop a keyword & content map
Create a keyword map by assigning a primary keyword to each page. Avoid cannibalization by ensuring multiple pages don’t target the same term. Identify content gaps and plan new pages that support long‑tail Canadian queries (e.g., “website redesign services Toronto” or “French website redesign checklist”).
4. Perform a technical SEO audit
Before building anything new, scan your current site for technical issues. Look for 404 pages, unoptimized metadata or misconfigured redirects. Tools like Screaming Frog or SEO Checker can identify duplicate titles, missing meta descriptions and oversized images. Addressing these problems now avoids carrying them into the new build.
5. Clarify problems and goals
List everything you want to fix, from copy and images to navigation and forms. Separate design issues from SEO or performance issues so you can focus on each area. Determine priorities; a clunky navigation is more critical than swapping a hero image.
Next, align your redesign with business goals: more leads, higher sales, better engagement or improved accessibility. Define non‑negotiable must‑haves like an appointment scheduler, bilingual content or ecommerce integration.
6. Decide who will redesign
Choose between DIY, hiring an agency or a hybrid approach. An experienced web design company can handle design, development, SEO and project management. If you take on the work internally, ensure you have dedicated resources for strategy, design, development and content.
7. Set your budget and timeline
In Canada, web redesign costs vary widely. A basic makeover might run CAD $5–$10 k; a custom bilingual ecommerce site can exceed CAD $50 k. Allocate budget for design, development, content, SEO, accessibility testing and post‑launch support. Plan for at least 3–6 months for a full redesign, longer if your site is large, multilingual or requires regulatory compliance.
8. Choose the right technology stack
Select a content management system (CMS) and hosting solution appropriate for your needs. WordPress with a drag‑and‑drop builder suits many small businesses; Shopify works for e‑commerce; headless CMS solutions offer scalability for enterprises. For Canadian audiences, ensure your stack supports bilingual content and stores data in compliance with Canadian privacy laws. Consider using CDN nodes located in Canada to minimize latency.
9. Gather creative inspiration
Collect examples of sites you admire. Note design elements (fonts, colour palettes), navigation patterns, interactive features and copy style. This “mood board” will guide your designer and help you articulate your vision.
Phase 2: Design, UX & Content Strategy
10. Build wireframes and prototypes
Once the planning is complete, create wireframes, simple outlines showing page layouts, navigation structure and content hierarchy. Wireframes help you validate user flows and catch issues early. Next, produce interactive prototypes that stakeholders can click through.
Pro tip: When designing for Canadian users, consider bilingual navigation and simple toggles between English and French. Use clear labels like EN/FR to improve accessibility.
11. Craft compelling copy and content
Your content should be clear, benefit‑oriented and aligned with your brand voice. Use a conversational tone, break text into short paragraphs, and add bullet lists for clarity. Write alt text for images and transcripts for videos to improve accessibility.
For local SEO, incorporate geo‑specific keywords such as “Toronto web redesign,” “Vancouver website design,” or “website redesign checklist Canada.” Don’t over‑stuff keywords, use them naturally in headings and body text.
12. Prioritize accessibility and compliance
Canada’s digital accessibility laws are evolving quickly. The Accessible Canada Act aims to create a barrier‑free country by 2040 and mandates WCAG compliance for federally regulated organizations. As of May 31 2024, federal entities must meet WCAG 2.1 Level AA requirements and comply with EN 301 549 standards.
Provincial laws like Ontario’s AODA require public sector websites to conform to WCAG 2.0 Level AA, while private organizations with 50 or more employees must achieve Level AA compliance and provide accessible formats on request. Fines can reach $50,000/day for individuals and $100,000/day for corporations.
Your new design should:
- Use sufficient colour contrast and large, readable fonts.
- Offer keyboard navigation and descriptive links.
- Provide alt text and captions for media.
- Allow bilingual support for English and French content.
- Be compatible with assistive technologies such as screen readers.
13. Design for mobile first
Canadian users expect responsive experiences across smartphones, tablets, and desktops. Design mobile layouts first, then progressively enhance for larger screens. Keep forms short, ensure buttons are easy to tap, and avoid horizontal scrolling.
14. Create an intuitive navigation & information architecture
Organize your content logically. Use clear menu names like “Services,” “About,” and “Contact.” Include breadcrumbs or a visual progress indicator in longer workflows (e.g., checkout). For sites with multiple languages or locations, allow visitors to choose their region at the top.
15. Develop persuasive calls‑to‑action (CTAs)
Place CTAs prominently and consistently. Use contrasting colours, action‑oriented language (e.g., “Get a free quote”) and keep the number of CTAs per page minimal to avoid overwhelming visitors.
16. Select imagery and visuals
High‑quality, relevant imagery improves engagement. For Canadian audiences, use photos of local landmarks (CN Tower, Banff) or scenes that resonate with your target market. Suggest images like:
- Hero image of a modern office in Toronto or Vancouver: to represent a Canadian business ready for digital transformation.
- Diagram illustrating Core Web Vitals metrics to visually explain LCP, INP and CLS (e.g., a speedometer graphic showing “Good,” “Needs Improvement” and “Poor” ranges).
- Screenshot of a Google Analytics dashboard to show analytics export (blur sensitive data).
- Illustration of bilingual navigation (EN/FR toggle) highlighting accessibility and language support.
Ensure images are compressed and served via CDN to keep LCP below 2.5 seconds.
17. Address trust and security signals
Display SSL certificates (HTTPS), include privacy‑policy and accessibility statements, and show badges for memberships (e.g., Better Business Bureau). Add testimonials, case studies, or logos of clients to build credibility.
Phase 3: Technical Build & Quality Assurance
18. Develop the site on a staging environment
Never redesign your site on the live domain. Use a staging or local environment to build and test. This allows you to experiment without disrupting visitors.
19. Implement modern performance standards
- Optimize Core Web Vitals: Ensure LCP is under 2.5 seconds by compressing images and minimizing render‑blocking scripts. Optimize CSS delivery and lazy‑load off‑screen images. For INP, minimize JavaScript bundle sizes and use efficient event listeners. For CLS, define width/height for images and avoid injecting content above the viewport.
- Use CDN and caching: Serve assets from edge servers to reduce latency. Use caching headers to avoid unnecessary requests.
- Minify code and remove unused CSS/JS: A lean codebase improves load time and maintainability.
- Enable browser pre‑loading and pre‑fetching: Preload fonts, critical CSS and key images.
20. Structure content semantically
Use proper heading hierarchy (H1 for page title, H2s for sections) and descriptive anchor text. Add schema markup for articles, local businesses, products or FAQs to improve search engine understanding.
21. Configure on‑page SEO elements
Optimize title tags and meta descriptions for each page. Keep title tags under 60 characters and meta descriptions under 155 characters. Use the focus keyword and location descriptors naturally. Ensure heading tags (H1–H6) are unique and below 70 characters. Include relevant internal links.
22. Create robots.txt and XML sitemap
After the build, generate a robots.txt file to guide search engines and an XML sitemap to list all pages. Tools like Yoast SEO (for WordPress) can automate this process.
23. Set up 301 redirects
Implement the redirect map you created earlier so old URLs point to new ones. Test redirects using tools like Screaming Frog or a Chrome extension to ensure there are no loops or errors.
24. Integrate analytics & tracking
Install Google Analytics 4 (GA4), tag manager and any other tracking scripts on the new site. Configure events and conversions that align with your goals. Ensure cookiebanners and privacy settings meet Canadian privacy regulations.
25. Test on multiple browsers and devices
Perform cross‑browser testing (Chrome, Safari, Firefox, Edge) and across devices (mobile, tablet, desktop). Verify that forms submit correctly, navigation works, and CTA buttons respond quickly.
26. Conduct user testing
Invite a handful of people (team members, customers, or a user‑testing panel) to complete tasks such as finding a specific service or completing a purchase. Collect feedback on clarity, ease of use and emotional response. Iterate before launch.
27. Perform security & legal checks
Ensure SSL certificates are active, update server software, apply necessary security patches and implement a Web Application Firewall (WAF). Confirm compliance with Canadian privacy laws (PIPEDA, CASL) and accessibility requirements (ACA/AODA).
Phase 4: Launch & Post‑Redesign Optimization
28. Go live during a low‑traffic period
Plan the launch during off‑peak hours (e.g., late evening or early morning) to minimize disruption. Announce the change via email and social media to let customers know about the improved experience.
29. Verify redirects and crawlability
After launch, run a site crawl to ensure all 301 redirects work properly and no pages return 404 errors. Submit your XML sitemap through Google Search Console and Bing Webmaster Tools so search engines index your new content quickly.
30. Monitor on‑page and technical SEO
Use analytics and tools like Screaming Frog to check title tag lengths, meta descriptions and heading tags. Make adjustments if descriptions are truncated or duplicated.
31. Check technical SEO and accessibility factors
Verify your robots.txt file and XML sitemap are accessible. Use accessibility checkers to confirm alt text, keyboard navigation and ARIA attributes.
32. Audit backlinks and off‑page signals
After a redesign, some inbound links may point to deleted pages, causing broken backlinks. Use tools like Ahrefs or Google Search Console to find broken links and set up 301 redirects. Maintain the authority you’ve built.
33. Monitor performance & Core Web Vitals
Use Google Search Console’s Core Web Vitals report to track LCP, INP and CLS scores. Aim for LCP ≤ 2.5 s, INP < 200 ms (excellent) and CLS < 0.1. Optimize further by compressing images, implementing lazy loading and minimizing JavaScript.
34. Gather feedback & iterate
Use user surveys, heat maps and analytics to measure satisfaction and engagement. Adjust copy, CTAs and layout based on real user behaviour. Remember, a website is a living asset; continuous improvement helps you stay ahead.
Final Thoughts
A website redesign is an opportunity to align your digital presence with your business goals, improve user experience, and set yourself apart from competitors. When executed thoughtfully, guided by this website redesign checklist, it not only refreshes your look but strengthens your SEO, accessibility and conversions.
Ready to transform your site for Canadian audiences? Our team specializes in full‑funnel redesigns that balance aesthetics with performance, local SEO and accessibility. Contact us for a free consultation to discuss your project timeline, budget and goals.
Quick (FAQs) about Website Redesign
How often should I redesign my website?
On average, businesses refresh or redesign every 2–3 years. However, it depends on your industry, technology changes and user expectations. If your analytics show declining engagement or your site is no longer aligned with your brand, start planning sooner.
Will a redesign hurt my SEO?
If you plan properly, export data, create a redirect map, maintain keyword alignment, and optimize technical SEO, you can preserve or even improve rankings. Failing to map redirects or duplicating content can cause temporary drops.
What’s the difference between a redesign and a refresh?
A redesign involves changing the site’s structure, user experience, content and often the technology stack. A refresh usually updates visuals (colours, fonts) while keeping the core structure intact. You may perform multiple refreshes between major redesigns.
How long does a website redesign take?
A typical small business website redesign takes 3–4 months. Complex projects (e.g., bilingual ecommerce, government sites) can take 6–12 months due to additional content creation, translation and compliance tasks.
What will it cost?
Costs vary widely. A basic redesign can cost around CAD $5–$10 k, while enterprise‑grade sites with custom integrations and accessibility compliance may exceed CAD $50 k. Always budget for content creation, accessibility testing, ongoing optimization and maintenance.
Why is accessibility so important?
Beyond legal requirements, accessible design improves user experience for everyone. It ensures people with disabilities can access your content and signals inclusivity, which enhances brand reputation. Non‑compliance with ACA or AODA can lead to significant fines.
Disclaimer: The information provided in this blog is for general informational purposes only. For professional assistance and advice, please contact experts.
Search Here
More Categories
Latest Posts

March 13, 2026
Khadija Raees
March 10, 2026
Neha Ghauri
March 6, 2026
Neha Ghauri
March 4, 2026
Neha Ghauri

February 26, 2026
Khadija Raees


About Author
Khadija Raees
Khadija Raees, a graduate in Computer Sciences, has five years of experience in SEO writing and content creation. She focuses on writing highly...
