Google Tag Manager for Beginners: Step-by-Step Setup Guide 2026
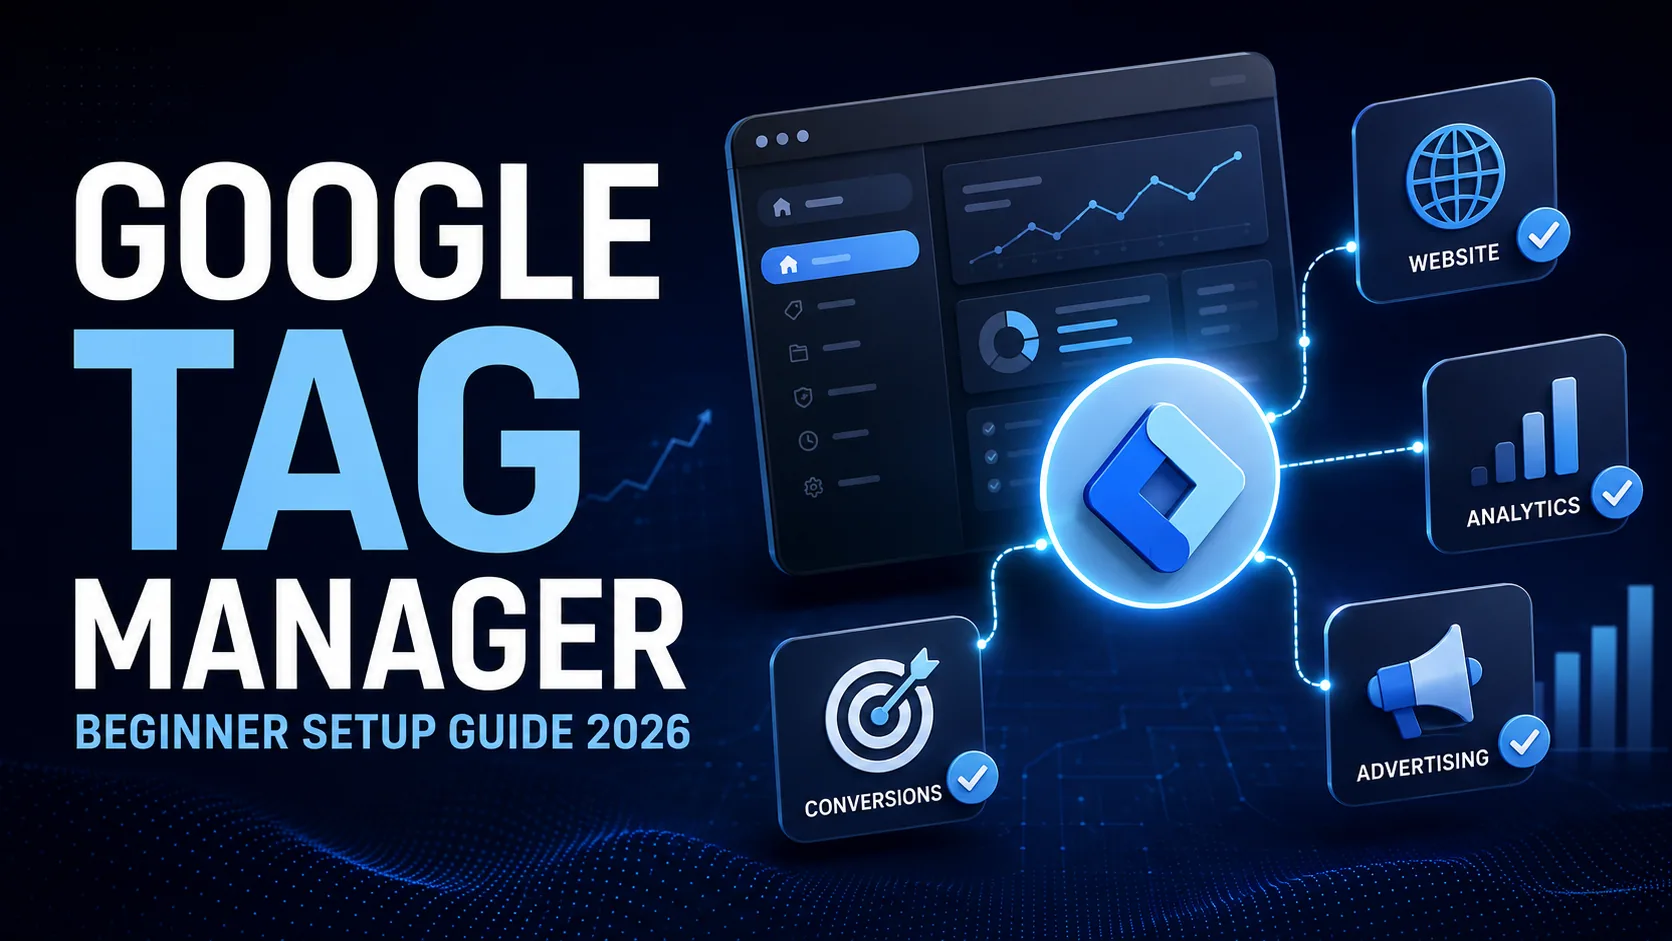
Google Tag Manager (GTM) is Google's free tool that lets you add and manage tracking codes on your website without editing the site's code every time. To set it up, you create a free account at tagmanager.google.com, paste two small code snippets into your site, add your first tag, test it in Preview mode, and hit Publish. The whole thing takes about 15 minutes.
That is the entire answer. The rest of this guide exists because those 15 minutes contain roughly 47 opportunities to click the wrong button, and because GTM's interface got a facelift in 2026 that made most older tutorials look like maps of a city that no longer exists.
So grab a coffee. Let us set this thing up properly.
What is Google Tag Manager, really?
Google describes Tag Manager as a tag management system that lets you set up and manage tags on your site without changing your website's code. Here is the human translation.
Every marketing tool you use wants you to paste a snippet of code on your website. Google Analytics wants one. Google Ads wants one. Meta wants one. That heat map tool you signed up for at 2 a.m. wants one too.
Without GTM, every snippet means emailing a developer, waiting three days, and paying for the privilege. With GTM, you install one container once, and then add, edit, or remove all those snippets yourself from a friendly dashboard. No code editor. No developer. No three-day wait.
And you would be in good company. W3Techs puts Google Tag Manager on 45.5% of all websites, which works out to a 99.6% share of every site whose tag manager is known. In other words, GTM is not just winning the race. It is the only runner who showed up.
The three words you need to know
GTM has its own vocabulary, but only three terms matter on day one.
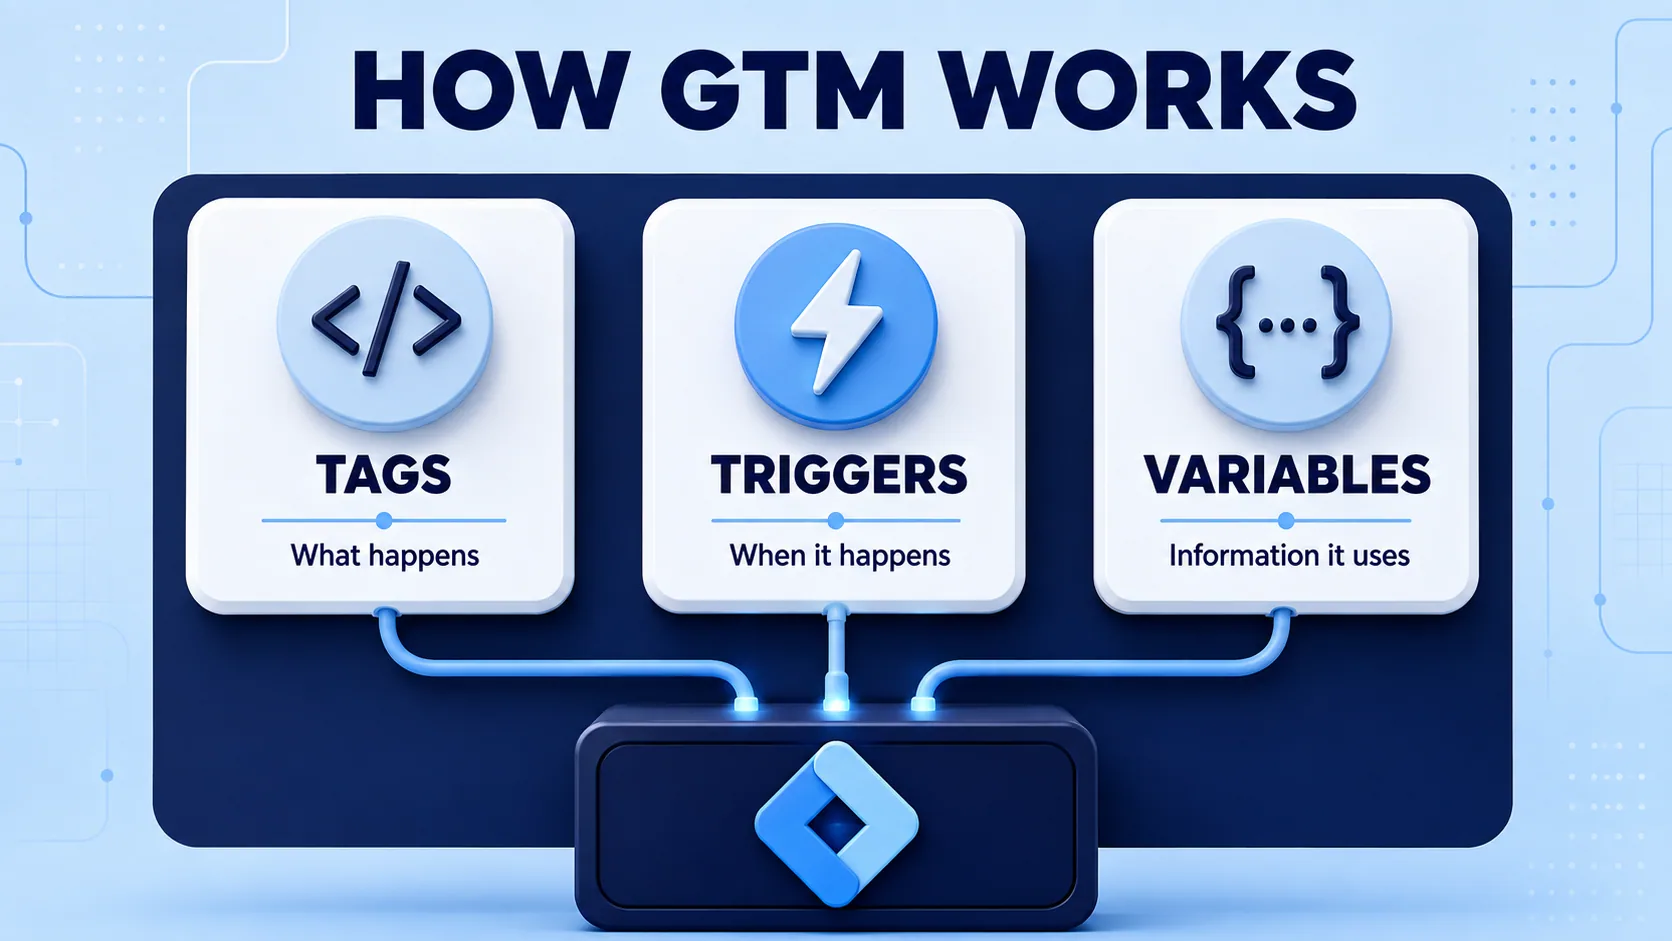
- Tags are the snippets of code you want to fire, like your GA4 tag or a conversion pixel. Think of them as things that happen.
- Triggers decide when a tag fires, like "on every page" or "when someone clicks Buy Now." Think of them as the rules.
- Variables are reusable bits of information, like your measurement ID, so you do not have to type it 14 times and typo it twice.
Everything lives inside a container, the collection of tags, triggers, variables and settings you install on one site. One website, one container. Simple.
GTM vs GA4: stop confusing the two
This is the number one beginner mix-up, so let us kill it early.
- Google Analytics 4 (GA4) is the tool that stores and reports your data. It is the filing cabinet.
- Google Tag Manager is the tool that sends data to GA4 and friends. It is the courier.
The courier does not read your mail, and the filing cabinet does not deliver anything. You will likely want both. If GA4 still feels like a mystery, our GA4 for beginners guide pairs perfectly with this article, like tea and biscuits, but with more event parameters.
What changed in GTM recently, and why old tutorials will mislead you
If you are following a tutorial with screenshots from 2023, you will be looking for buttons that no longer exist. Here is what actually changed.
- The Google tag replaced the old GA4 Configuration tag. Google renamed GA4 configuration tags to Google tags back in September 2023, and you now deploy the Google tag directly inside Tag Manager, where it handles your Google products from one place. Every step of every tutorial written before that date is wrong on this point.
- The interface was simplified in August 2026. On 20 August 2026 Google announced a streamlined Overview page, a new Settings section for container-wide options, and an Advanced section that tucks triggers, variables, templates and folders out of the way until you need them. Google tags are also being upgraded into fully capable Tag Manager containers.
- Visual tagging is in beta. You can now point and click at elements on your own site to create events and set up conversions without manual coding. It is in beta for purchase conversions in Google Ads at the moment, so it is not a full replacement for tags and triggers yet, but it is a sign of where this is going.
- First-party tagging went mainstream. Google tag gateway for advertisers lets you serve Google scripts through your own domain and infrastructure. Google reports that advertisers who configured it saw an 11% uplift in signals. More signal, less noise, no re-tagging.
- Consent mode is not optional in Europe. If you have visitors from the European Economic Area, Google requires consent signals for personalized advertising features to work. More on this in Step 7.
Bottom line: today's GTM is friendlier to beginners than any previous version. Good timing on your part. If you want to check a specific change yourself, Google keeps a running Tag Manager release notes page.
Before you start: the 2-minute checklist
You need exactly three things.
- A Google account, ideally the one attached to your GA4 property.
- Access to your website's code, or admin access to your CMS (WordPress, Shopify, Wix, and so on).
- A rough idea of what you want to track. "Form submissions and button clicks" is a perfectly good answer. "Everything" is not an answer, it is a cry for help.
Ready? Setup time.
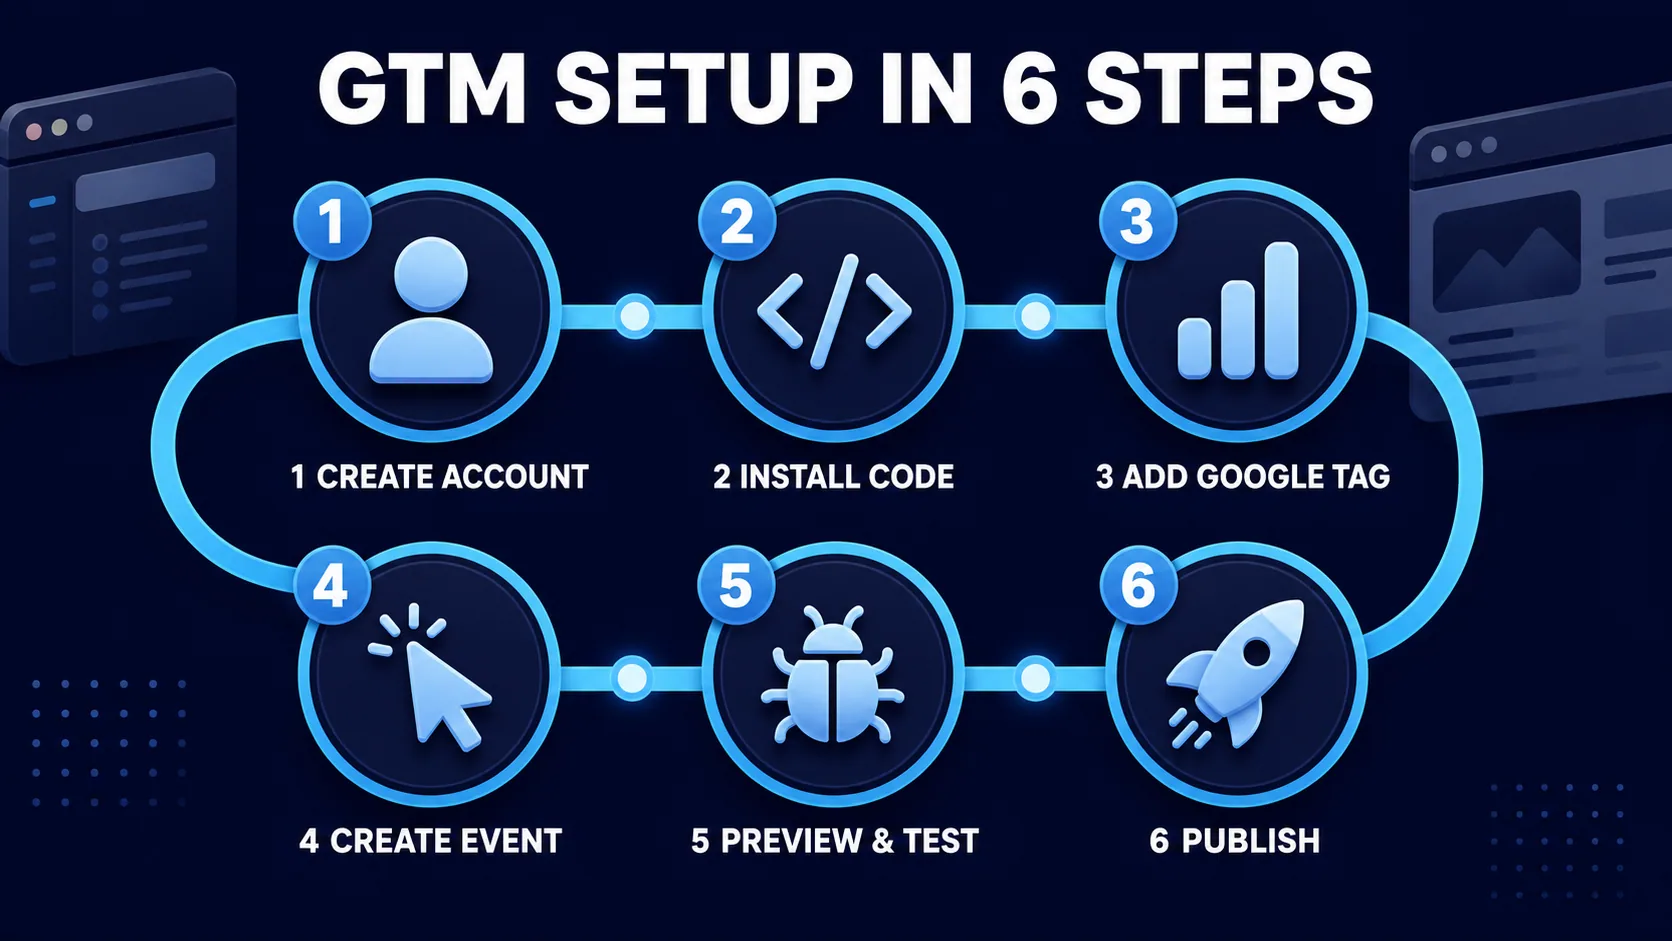
Step 1: Create your GTM account and container
This part is painless, we promise.
- Go to tagmanager.google.com and sign in with your Google account.
- Click Create Account.
- Enter an account name. Use your business name, not "Test Account 7 Final FINAL v2."
- Select your country.
- Under Container Setup, enter a container name. Google recommends your website's URL, like "www.yoursite.com."
- Choose your container type: Web for websites, which is you, or iOS, Android, AMP and Server for the fancier use cases.
- Click Create, read the Terms of Service, or at least scroll to the bottom convincingly, and accept.
Congratulations. You now own a container. It is empty, like a new apartment, but we will furnish it shortly.
Step 2: Install the container on your website
GTM now shows you two code snippets.
- Copy the first snippet and paste it as high in the
<head>section of every page as possible. - Copy the second snippet and paste it immediately after the opening
<body>tag. This one is a fallback for visitors browsing with JavaScript disabled, all nine of them.
On WordPress: use your theme's header and footer code fields, or a plugin that injects header and body scripts. Most modern themes have a built-in spot for this.
On Shopify, Wix, Squarespace and friends: each platform has a settings area for custom code or a native Google integration, so you will not be editing every page by hand.
If you can see your container ID, the one starting with GTM-, in your page source afterward, you nailed it.
Step 3: Add the Google tag, your GA4 connection
Remember, the Google tag is set up directly inside GTM now.
- In your workspace, click Tags, then New.
- Choose the Google tag type.
- Enter your Google tag ID or GA4 measurement ID. You will find it in GA4 under Admin, then Data Streams.
- Set the trigger to Initialization - All Pages, so it fires before your other tags. Think of it as letting the host arrive before the party guests.
- Name the tag something a future, sleep-deprived version of you will understand. "Google tag - GA4 - All pages" beats "Tag 1."
- Click Save.
Step 4: Create your first real tag and trigger
Let us track something useful, like clicks on your "Contact" button.
- Go to Variables, then Configure, and enable the built-in Click variables. GTM keeps these off by default, presumably to make you feel like a hacker when you switch them on.
- Go to Triggers, then New, then Click - All Elements, and set it to fire on Some Clicks, where Click Text contains "Contact."
- Go to Tags, then New, then Google Analytics: GA4 Event, name the event something clean like
contact_click, and attach your new trigger. - Save everything.
That is the whole GTM workflow: tag, trigger, save. You will repeat this loop for forms, phone clicks, downloads, video plays, and anything else your marketing heart desires. Speaking of phone clicks, calls are the most under-tracked lead source we see, and our guide on tracking phone call leads properly shows how to fix that.
Step 5: Preview and debug, do not skip this
Nothing you have built is live yet. GTM changes only go public when you publish, which is both a safety net and an excuse to test.
- Click Preview in the top right of your workspace.
- Enter your website URL and click Connect.
- Your site opens with Tag Assistant attached, showing exactly which tags fired, which did not, and why.
- Click your Contact button. Watch your
contact_clickevent light up.
If a tag refuses to fire, the debugger tells you which trigger condition failed. It is like a lie detector for your tracking setup, minus the courtroom drama.
Step 6: Publish your container
- Click Submit in the top right.
- Add a version name and description, like "Initial setup: Google tag + contact click." Trust us, "asdfgh" will haunt you in six months.
- Click Publish.
Your tags are now live. Somewhere, a marketer who once waited three weeks for a developer to add one pixel sheds a single joyful tear.
Step 7: Set up consent mode, required for EEA traffic
If anyone from the European Economic Area visits your site, Google requires you to collect and pass consent signals, otherwise measurement and personalized ads features degrade. GTM has built-in consent mode support and integrates with the major consent management platforms.
The short version: add a consent banner through a consent management platform, connect it to GTM's consent settings, and verify the consent states in Preview mode. For the full picture, including what advanced consent mode does behind the scenes, read our breakdown of Google advanced consent mode.
Canadian businesses are not off the hook either. Privacy expectations keep tightening everywhere, and building consent handling in from day one is much easier than retrofitting it during a panic.
5 beginner mistakes that make analysts cry
- Publishing without previewing. Preview mode exists. It is free. Use it.
- Installing GTM and GA4's snippet separately, twice. Double tagging means double counting, which means your conversion rate is a beautiful lie.
- Naming tags like a chaos gremlin. "New Tag (3)" tells nobody anything. Adopt a naming convention on day one.
- Tracking everything, reviewing nothing. Fifty events nobody looks at is not measurement, it is hoarding.
- Forgetting consent mode. See Step 7, and then see your legal counsel's relieved face.
When to do it yourself, and when to call in help
If you have made it this far, you can absolutely handle a basic GTM setup on your own. The steps above cover 90% of what a small business needs.
The other 10% is where things get spicy: server-side tagging, first-party mode through Google tag gateway, cross-domain tracking, e-commerce data layers, and consent architecture. That is the plumbing behind accurate reporting, and it is where a specialist pays for themselves.
It is also where the results live. Clean tracking is the foundation of every campaign we run, because you cannot improve a number you cannot trust. That is the same groundwork behind one of our accounting clients lifting conversions by 63% and revenue by 159%, and generating 2,780 leads over two years.
If you would rather hand it over, campaign tracking and reporting is the service that covers this, and it is the first thing we fix before touching a Google or Meta ads budget. Book a free consultation and we will set up GTM, GA4 and conversion tracking that actually tells the truth.
FAQs about Google Tag Manager
Is Google Tag Manager free?
Yes, Google Tag Manager is completely free for standard use. You can create an account, install containers, and publish unlimited tags without paying anything. Google offers a paid enterprise version called Tag Manager 360, but small and medium businesses will not need it.
Do I need Google Tag Manager if I already have Google Analytics?
You do not need it, but you will want it. Google Analytics reports your data, while Tag Manager controls how tracking codes are deployed on your site. Using both means you can add event tracking, conversion pixels, and other tools without editing your website's code.
What is the difference between Google Tag Manager and GA4?
Google Tag Manager sends data, and GA4 stores and reports it. GTM is the delivery system that fires tracking tags on your website, while GA4 is the analytics platform that turns those signals into reports. They work together but do completely different jobs.
How long does it take to set up Google Tag Manager?
A basic setup takes about 15 minutes. That includes creating your account, installing the two code snippets, adding the Google tag, and publishing. A full setup with custom events, conversion tracking, and consent mode typically takes a few hours.
Is Google Tag Manager hard to learn for beginners?
No, the basics of Google Tag Manager are easy to learn. If you can follow a recipe, you can create a tag, attach a trigger, and publish a container. Advanced topics like data layers and server-side tagging take longer, but you do not need them on day one.
Does Google Tag Manager slow down my website?
Not in any way most sites will notice. GTM loads tags asynchronously, meaning your page does not wait for tags to finish loading. A container stuffed with dozens of poorly built custom scripts can add weight, so audit your tags occasionally and remove the ones you no longer use.
How do I know if Google Tag Manager is working?
Use Preview mode inside GTM. Click Preview, connect your website, and Tag Assistant will show you exactly which tags fired on each page and click. You can also check your page source for your GTM container ID, which starts with "GTM-."
Can I use Google Tag Manager on WordPress or Shopify?
Yes, Google Tag Manager works on WordPress, Shopify, Wix, Squarespace, and virtually every modern platform. On WordPress, you paste the snippets into your theme's header and body or use a plugin. Shopify and most site builders have a custom code area or native integration for it.
Do I need a developer to install Google Tag Manager?
Usually not. Installing GTM means pasting two code snippets into your site, and most CMS platforms make that a copy-paste job. You might want a developer for advanced setups like e-commerce data layers or server-side tagging, but the standard installation is beginner-friendly.
What is a container in Google Tag Manager?
A container is the bucket that holds all your tags, triggers, and variables for one website or app. You install the container code on your site once, and everything you build inside GTM ships through it. One website generally needs exactly one container.
What happens if I publish a mistake in Google Tag Manager?
Nothing you cannot undo in about 30 seconds. GTM saves every published version of your container, so you can roll back to a previous version instantly. That said, always test changes in Preview mode first so your mistakes stay private.
Is Google Tag Manager GDPR compliant?
Google Tag Manager can be used in a GDPR-compliant way, but compliance depends on your setup. You need a consent banner, and you must configure consent mode so tags respect each visitor's choices. Google requires consent signals for European Economic Area traffic for its advertising features to work fully.

Written by Umer Kureshi
Search and Performance Lead
Umer leads search and performance at Wide Ripples Digital and heads SEO and marketing at Bestax. His work covers technical SEO, content strategy, internal linking and local search, and he builds each plan around the gaps in a client’s niche rather than a copied playbook. On one campaign that approach took a site from 30 clicks a day to 12,953 in a single day.
Last updated September 5, 2026 · Umer Kureshi on LinkedIn